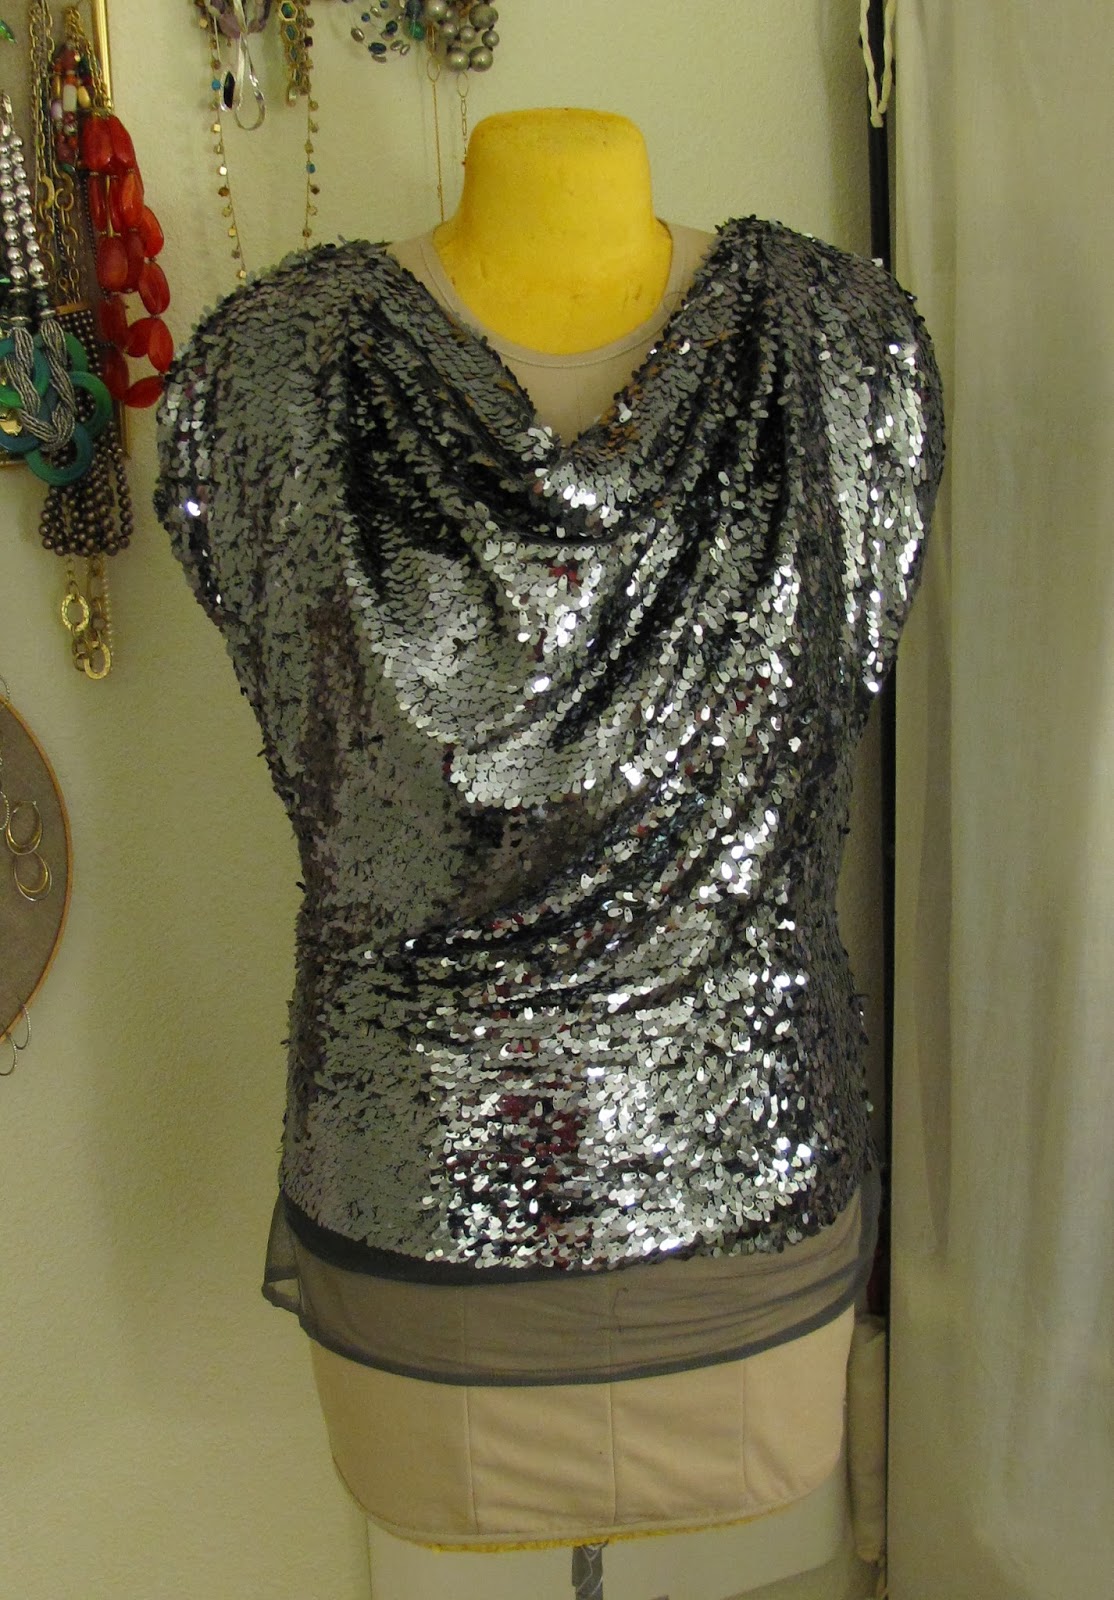
So after my very sequin-y, sparkle-y New Year's Eve, I spent New Year's Day enjoying a nature hike along the Pacific Coast wearing my new Claremont(ish) Coat made from Decades of Style 4009.
The fabric was a lilac wool tweed purchased by-the-piece from Fabric Mart and a lilac and patterned gray and lilac floral print silk/cotton voile for the lining. I've always loved lighter weight jackets, and for the first time ever I live in a climate where they are a practical option. I imagine quite a bit more tweed in my future! Although I will give one note of caution... this fabric was lovely to work with, presses beautifully, but frays easily. This was not a problem in the original construction, but the back panel had already began to separate from the side panels near where the panel back facings end. I've fixed it by hand and lightly tacked the seam to the lining at the weak point which should prevent further fraying along the seam, but if I was to start over I would have finished the seam edges with the serger...
I set out the pattern to cut just before Christmas, thus the holiday cheer in the background. I cut the smallest size C, which pretty closely matches my measurements, but if I was to attempt it again, I'd probably go up to one of the larger "C" sizes to get a little more ease in the bust and waist and allow an easier fit over casual clothes. In the posted pictures the coat is straining a bit over jeans and a sweater but today I wore it over a jersey wrap dress (um... and spanx) and the fit was flawless... take that as you will when determining your own size.
I followed the directions provided with the pattern fairly closely. I started by attaching the front yoke to the panel back.
I then assembled the yoke and panel facings and attached the facing to the yoke and panel back assembly.
Next, I marked the darts on the front and sleeves with tailor's tacks and stitched all the darts. This is my least favorite part of any project so I always do all the darts at once to get it over with!
I then assembled the coat side back and coat fronts... and attached the yoke and panel back with lapped seams.
Once the body was assembled, I attached the pockets. The pocket section attached to the coat front is made of the shell fabric, while the back pocket is cut of the lining. This way if/when the pocket gaps open a bit, it will be less noticeable.
And then the sleeves... I actually really love these sleeves soooo much and may utilize this technique/design in future garments. On this pattern, rather than evenly spacing gathers and doing a set in sleeve, the sleeve has 5 small, evenly spaced darts which shape the sleeve cap. It is visually interesting and far easier to sew! (I always have to redo set in sleeves multiple times to eliminate unwanted puckers, this is so much easier.)
At that point, I assembled and inserted the lining of the body, pinned and stitched the sleeve linings in and hemmed the whole kit and caboodle. I found that my interfacing was not quite up to the task of wrangling this wool, and the front was not laying flat so I decided to top-stitch around the front and neck closure as well.
Now as for buttons (this is always a dramatic issue for me, is it not?) I decided against the classic 2 button closure in lieu of a frog closure (for now). As I mentioned, this coat had a little less ease than I would have initially preferred, so instead of buttonholes and buttons I decided to have the front closure meet flush at the edges with a frog closure. It was a "make it work" moment as Tim Gunn would say. And should my current diet succeed in reducing my girth, I can easily swap out my hand-stitched closures for proper buttonholes and buttons. Only time will tell.


