Thursday, September 8, 2011

Corsetry: Trying Something new...

So I have started work on my Halloween costume.  I won't give away  my idea yet, but here is a visual clue... I will accept guesses!

I have started with a Victorian corset, Simplicity pattern 9769. 


I began by cutting and pinning my pattern pieces.  Over Labor Day JoAnns was having a 50% off sale on bottomweights so I picked up some cream colored cotton twill.  I suppose it's denim?  Is any heavy weight cotton twill denim?  I picked up the steel boning and busk from voguefabricstore.com.

I began by cutting out my pattern peices and sewing the sections for each side together.


The sections are sewn together via flat felled seams (like those on blue jeans).


Then each seam is covered with twill tape sewn on close to each tape edge to create narrow channels for the boning.


At this point you are supposed to sew additional twill tape boning channels.  This is something I did not do at the appropriate time leading to extra work and some internal ugliness of my finished product.  Lesson learned? Read the directions!

Next I created the back sections and applied the grommets for lacing.  I'm not sure whether standard grommets are supposed to be used here but I am not an expert in corsetry and hey, it was available....

I begun by measuring and marking where each grommet would be applied.


I then cut a small hole slightly smaller than the grommet at each mark.  One lesson I did learn here is to perhaps veer on the side of a too small hole.  A few of the holes were a little too large and the grommets are hanging on by only a few threads rather than being very secure.  I did ultimately reinforce those with some handstitching.


I then pushed the grommet through the hole...


I lined up the grommet application thingy-doodle (it came in the package with the grommets)...


And used a hammer to apply the grommets.  I did, in fact, use both hands for my hammering but I needed my second hand for photography here.


The grommets seemed to work very well.


I then attached the busk and then sewed double fold bias tape along the lower edge.  This is when I realized that I had neglected to appropriately add all the boning channels.  I then added the channels and inserted the boning.  I then added bias tape to the upper edge to fully enclose the boning.


All leading to a finished product that I am quite pleased with.  I managed to discolor some of the bias tape with a hot iron and I have not yet picked up the laces so this is pinned to my poor dress form, but overall, I think this is an excellent result!  


 My only complaint regarding this pattern is the sizing.  I had been warned that this pattern ran big so  I cut an 18 rather than a 20 or 22 and it is still big.  As I stated, it has not yet been laced but I've held it up to myself and the back almost meets so it won't exactly be tight lacing...




Thursday, September 1, 2011

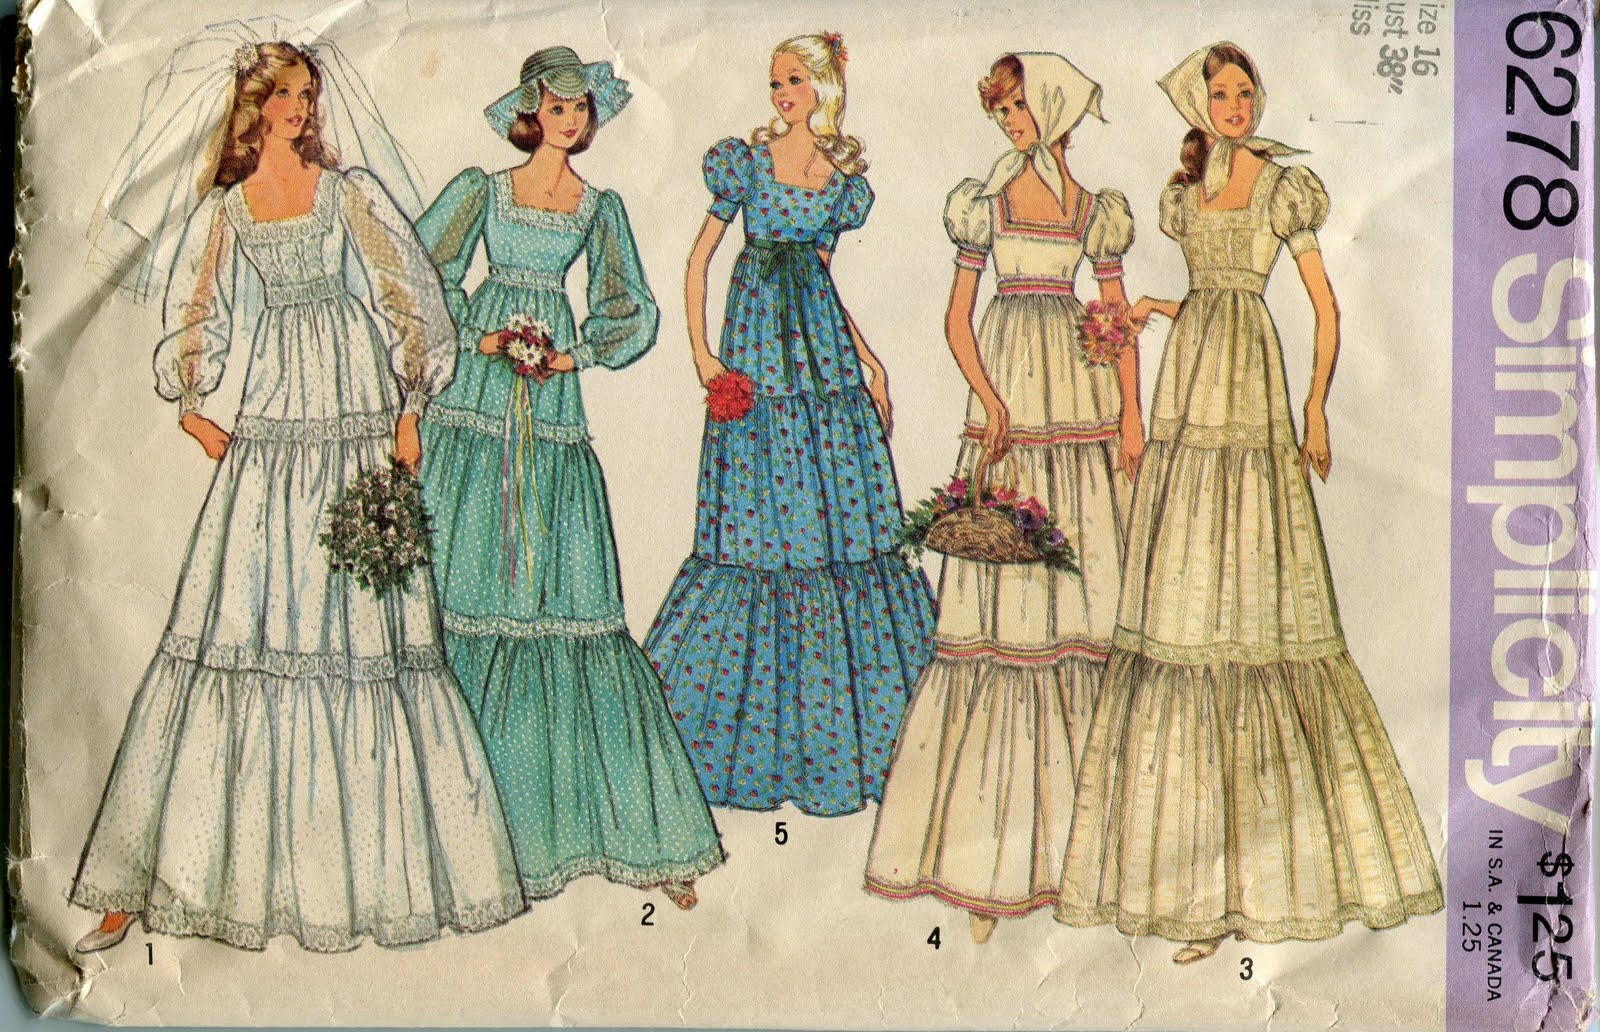
The Prairie Wedding Gown: Yeah or Nay?


I'm thinking no... but if I ever get married I may make my sisters wear babushkas or floppy bonnets.

The Good, the Bad, and the Fabulous... 70's style!

Two nights ago I popped by my parent's house for dinner and was greeted with a wonderful surprise from my Grandmother...a box of vintage patterns mostly from the mid-70s.  A lot of the styles are remarkably fashion forward, but others?  Not so much.  So here are a few highlights from my newly acquired collection with more to follow in the next few days...

A few of the patterns are simple, pretty, and I can see them getting a lot of use in my sewing room.  Especially as they are a Size 18, 40" Bust.

I love the interesting seaming under the bust on this one.

I love the green version, also it will make me look slimmer, how can I resist?

Others are significantly less attractive or useful...

This man looks way too happy to be wearing this embroidered white monstrosity.

As a grown woman I don't know why I wouldn't want to wear a sailor dress!  Especially if I pair it with white tights and red pumps.  This is clearly a stylish and patriotic fashion that will never go out of style...

Because nothing says manly like an aqua quilted vest and a jaunty silk scarf
While still others are downright appalling to the point of hilarity...

You know, I have often wondered the appropriate ensemble for sipping coffee in my walled garden and clearly the obvious answer is a horizontal striped "pull over caftan for men"!  Also, I think I need to find somewhere to purchase mugs to match all my outfits.


But my favorites are glamour incarnate and inspire me to invent an elaborate fantasy life where I where a lot of gold jewelry and eat fondue in my sunken living room around my fire pit.


For the record, my living room would look like this:


Be sure to join me tomorrow for another adventure through 70's fashion...

Friday, August 26, 2011

Back in the Saddle Again...

So it's been months since I wrote and quite a bit was accomplished in that time.  I've decided that the best way to recap and catch up to date is through pictures.  So here is a visual journey through the last 3 months...

I last left you on Easter Sunday...


After the holiday I should have focused on packing... but I don't really like packing so instead I took photos of my cat.


But I eventally got the walls primed back to white and all my worldly possessions stashe away in boxes.  


And with the assistance of some lovely friends and family, those boxes were transported to my new abode where they sat...


And sat... (unpacking took a long time because work has been crazy this summer and I was in a 6 week run of Hairspray at the Beck Center)


But after months of not sewing a stitch, I got the bug and in July I made myself a birthday dress.


Even though my sewing room still looked like this...


But I did finish unpacking and setting up most of the house, such as my porch where I drink my morning coffee and grow fresh herbs and tomatoes.


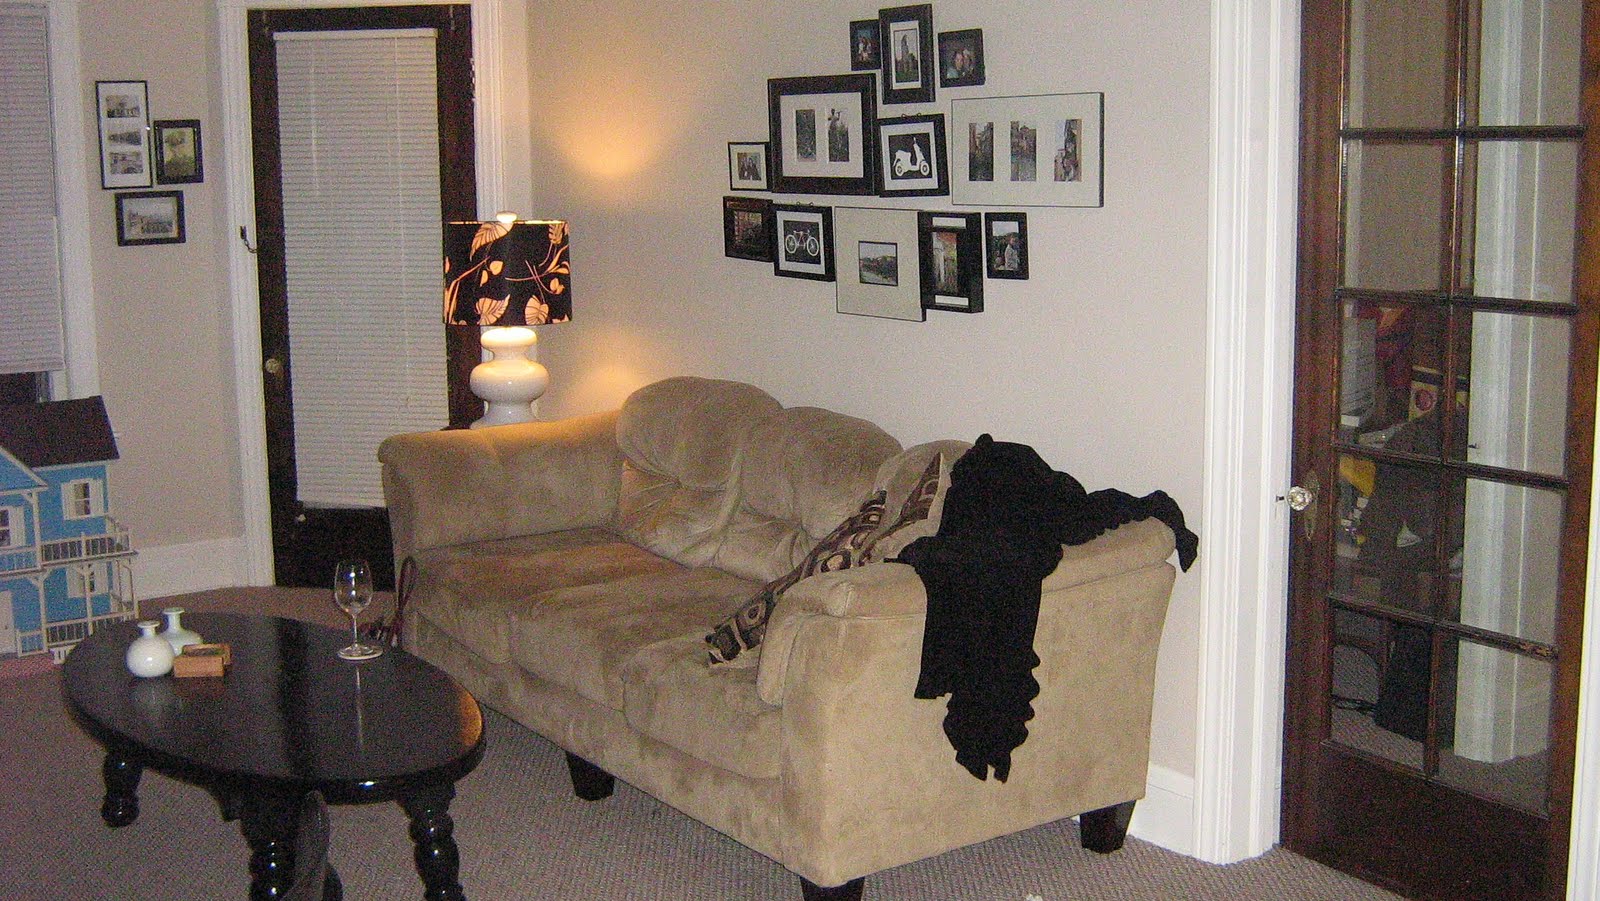
And the living room, which I feel is cozy and attractive...


And I eventually made some progress on the sewing room.  I gave up my Ikea plans and intead used my ingenuity to create a desk and cutting table from supplies available at the Home Depot.  But it is still a work in progress. 


Meanwhile my potted porch garden began to bear fruit. 


And I entertained myself with other craft projects.


And organizing the kitchen multiple times... Isn't it funny how you can't really tell how you will use a space till you start actually working in there for a few months?

I also finally got started on refinishing the bench and dining room table to go with my chairs I refinished this past spring.  At the current juncture, both are primed and I'll probably apply the first coat of paint sometime today.


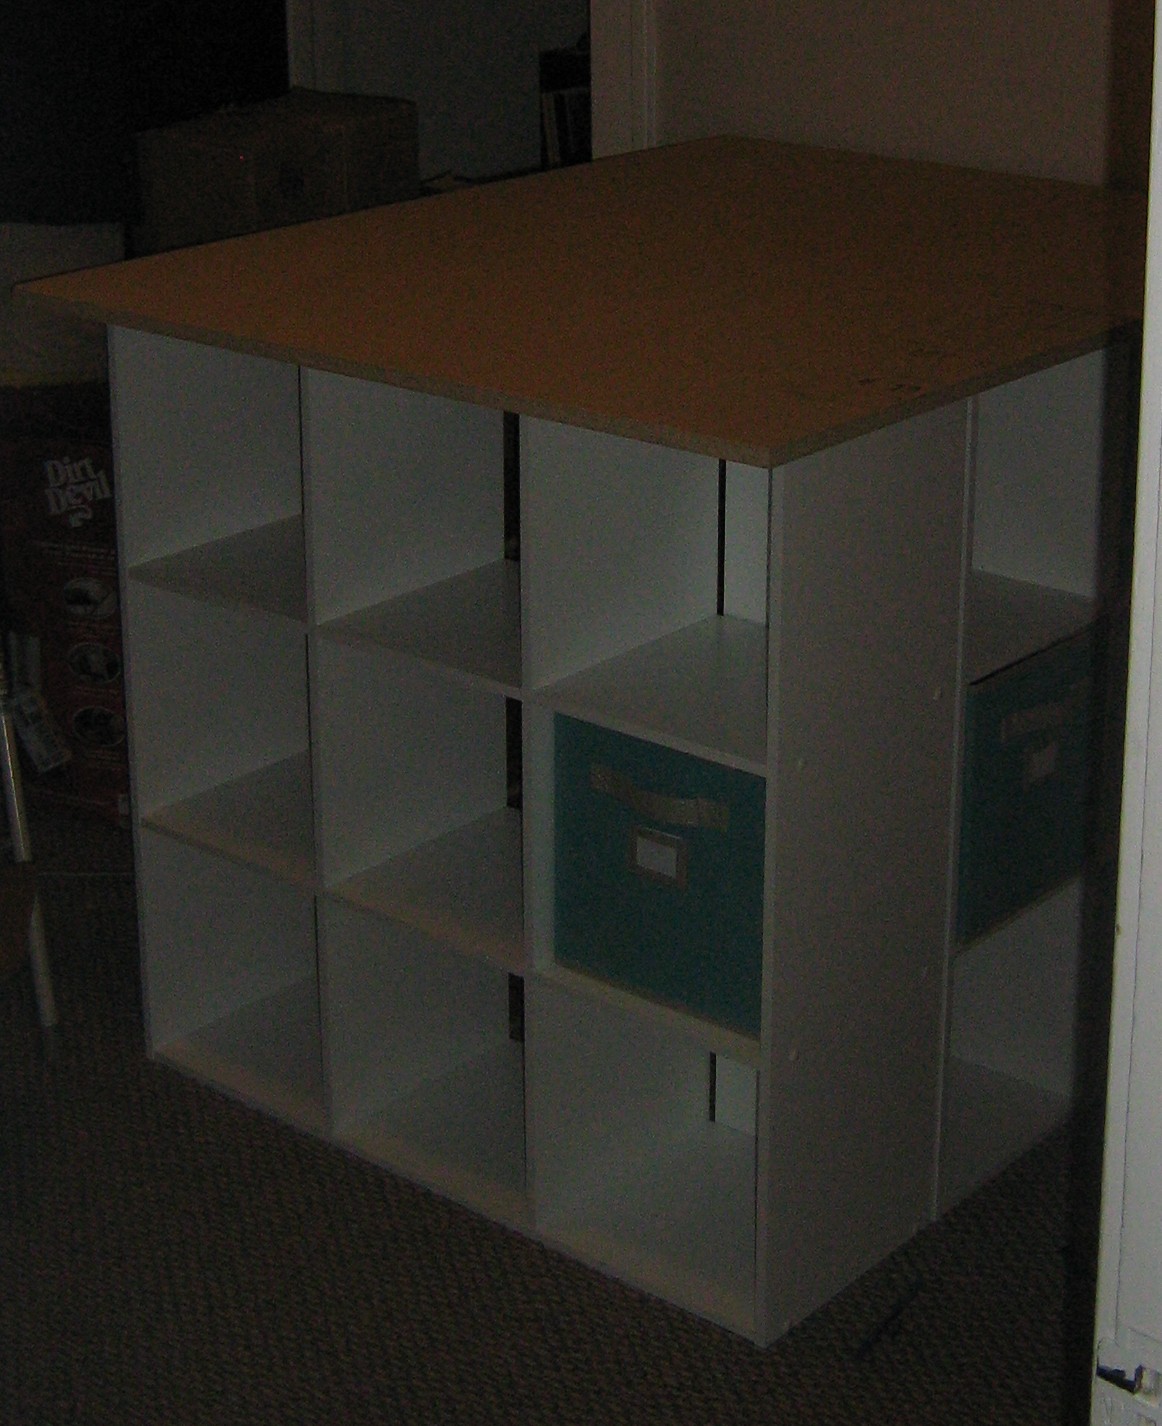
I also used inspiration found on the web to create a cutting table out of the cube shelves commonly found at target and a piece of MDF, cork, and butcher paper...  I arranged three sets of the shelves in a U shape against the wall and had a sheet of MDF cut to an appropriate size for a table top.  Then I glued down cork sheeting (so I can pin directly into the tabe) and covered the whole table top with butcher paper which can be replaced easily and cheaply as it gets worn and torn.  The idea for the table top was provided by Not Martha, and unfortunately I don't know where I saw the idea of using the shelves as a table base.  If anyone reading this has an idea of who came up with it first I would be happy to give them credit because it's sort of brilliant.  I not only have a strudy table that is the pefect height to stand and work (just over 3 feet including the table top) but I gained an unbelievable amount of storage.

I am still putting some finishing touches on my sewing room/studio but I will provide a full visual tour sometime soon so everyone can appreciate my handiwork and be super super jealous.