Thursday, December 19, 2013

A Holiday Gift Guide for that Special Sewist in your Life

Christmas is now less than a week away, which means that we have reached that special time of year when holiday shoppers begin to panic!  If you are still looking for the perfect something for your favorite seamstress (or seamster?) look no further!  Here are 10 ideas for items that you can still procure in time for Christmas morning:

1.  A Notions Gift Bag - Seriously, this is my number one suggestion for a gift for anyone who sews on the regular.  Just go to the aisles of your local fabric store that sell thread and zippers and needles and snaps and bias tape and grab... anything.  I promise you, it will get used.  I am forever needing invisible zippers and sewing machine needles (just get the universals).  And if you want to get really fancy and/or spendy you could purchase around a theme such as putting together a collection of cutting tools.  Grab a pair of Gingher Dressmaker's Shears (currently on sale at Joann's), a rotary cutter, applique scissors, and embroidery scissors and you have a flawless present!  Seriously, a girl can never have too many high quality scissors. 
 
  *Special Tip* - Buying yardage of fabric can be risky... but if you can't resist (sometimes you see a great deal on a print that really sings!) buy at least 3 yards, 4 is better.  Actually this is a good rule of thumb in general as even when I purchase fabric with something specific in mind, these things tend to change and it is sad when you realize the 2 yards you bought for a blouse would actually make a perfect dress that requires 3.5.  Avoid my mistakes, young shopper...

2.  Magazine subscriptions - a great last minute gift that keeps on giving.  Gift subscriptions for many sewing/knitting/crafting magazines are easily accessible via the interwebz but if you want to do things the old fashioned way (and give your recipient a present to open under the tree) pop by your local bookseller and pick up the most recent issue and add a note that you've filled out the card to purchase a full year of glossy gorgeousness.  My favorites are Threads and BurdaStyle.


3.  Books - While you are at the bookstore picking up your sewing based magazines you should also peruse the selection of hard copy books.  My favorite references include anything by Claire Schaeffer, Fit for Real People, and (if you are shopping for more of a beginner) the Colette Sewing Handbook.  And even easier, all these options and more are available at Amazon.  Speaking of Amazon...
 

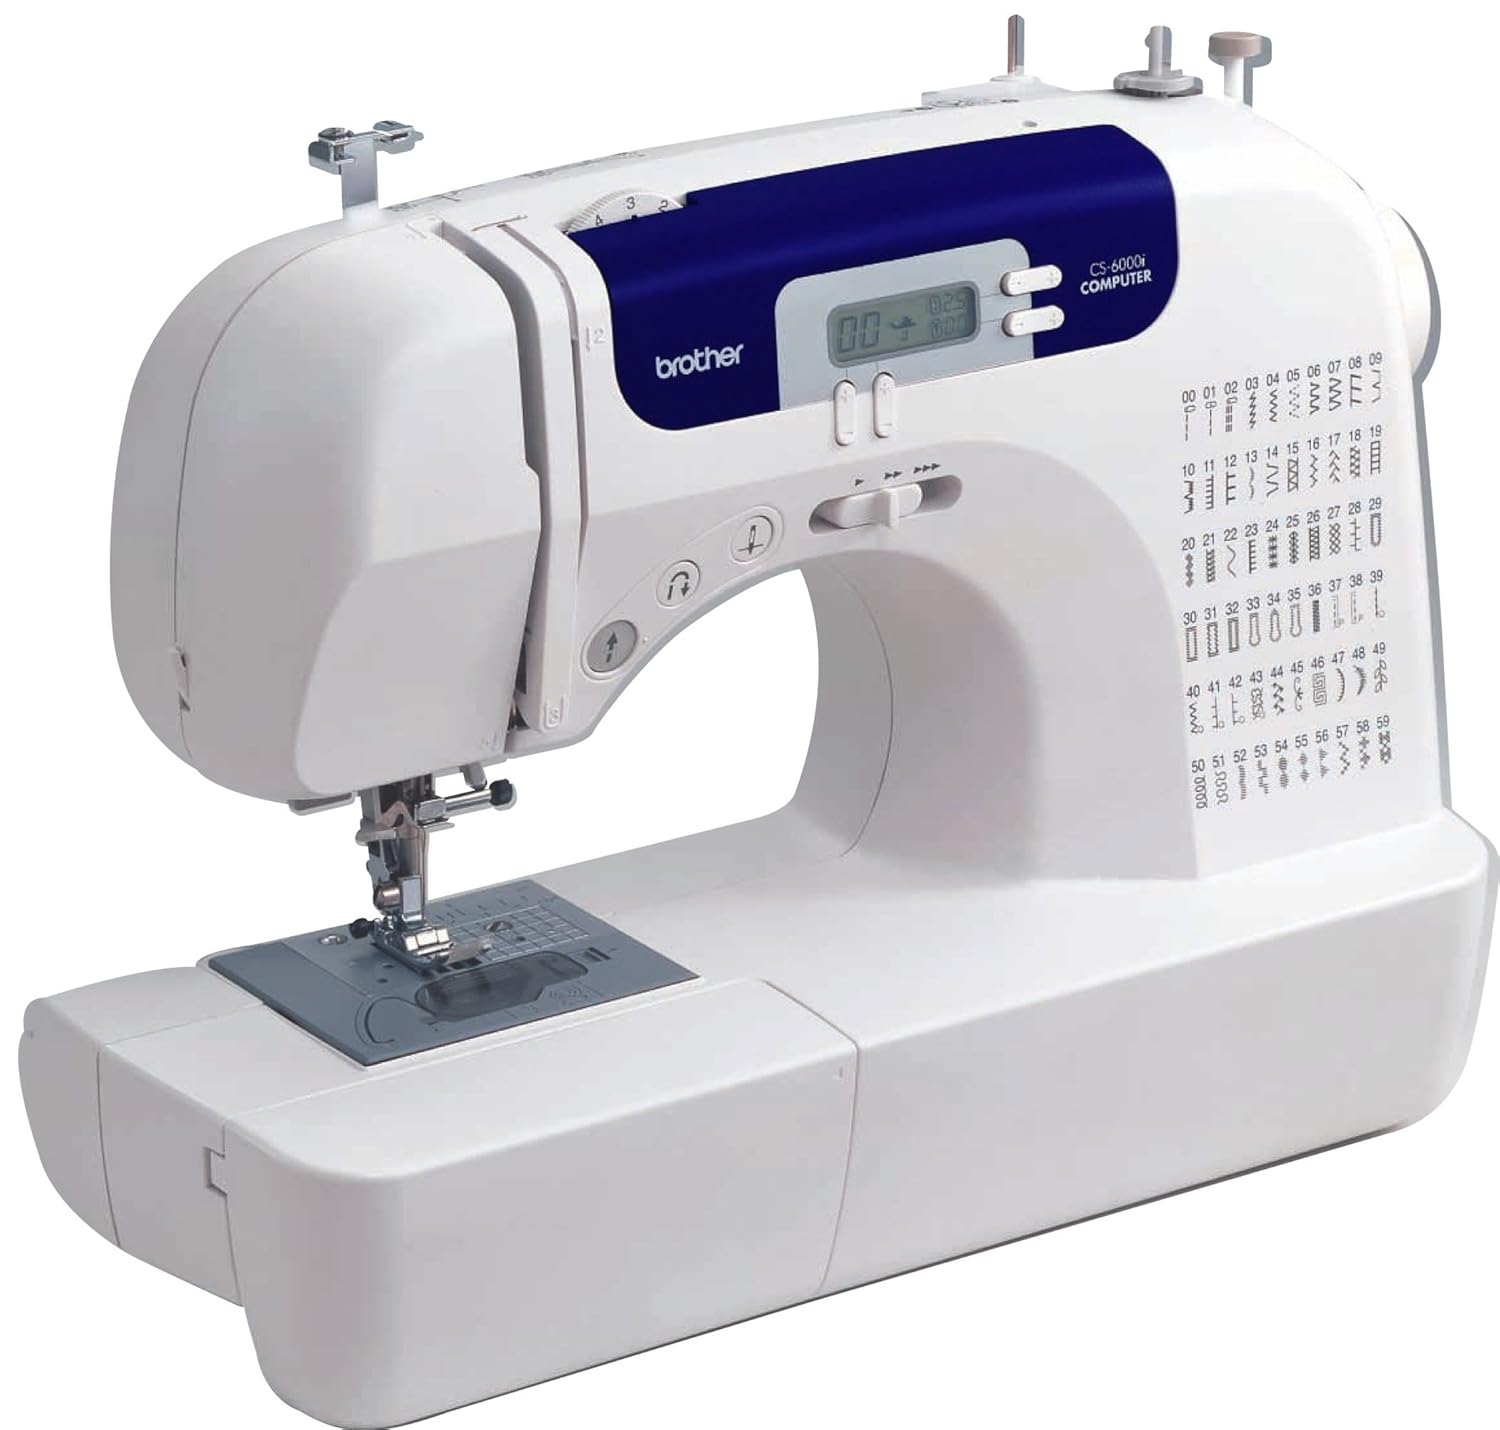
4.  Purchases from Amazon - There are four days left to order from Amazon to guarantee delivery by Christmas... usually with free shipping!  Now I don't know about everyone else, but I certainly have a broad selection of sewing based items on my wish list.  Many of your intended gift recipients may have a standing wish list and you can search for your friends and family by name or email.  Some of my favorite items on the list include this form curve ruler, pattern books, and notions such as That Purple Thang.  An excellent gift for a beginner sewer might be a basic machine, I recommend the Brother CS6000i.  I owned this inexpensive machine for several years of hard use and it held up beautifully.  It is a great gift for someone who thinks they may be interested in picking up the best of hobbies, but is not yet committed enough to lay out the big bucks. 


5.  Gift Cards and other vouchers - Now the gift card can tend to the impersonal, but they are also always appreciated and a store specific card chosen will care can be surprisingly thoughtful.  Some ideas for gift vouchers include: Mood, Britex, Joann Fabrics and Craft Stores, and FabricMart.  And of course, as mentioned above, Amazon

Of course, when time is not of the essence, there are so very many more options!  You can get suit making kits from B.Black & Sons!  Tapestry kits from the Liberty Haberdashery!  Japanese Hand Sewing Needle setsKnitpicks! Pattern Drafting Rulers!  A high quality iron!  (I actually really need that last one... can someone forward this to my boyfriend?)

In any case, my point is that when shopping for a seamstress, the possibilities are endless.  So go forth, go shop, and if you do a good job there may just be some homemade goodies for you under next year's tree!

Tuesday, December 10, 2013

My newest obsession...

So I know the new Vogue patterns came out a while ago, but has everyone seen V1374?  Because I am completely smitten.

This is actually unusual for me.  For the past year or so I have been far less pattern obsessed than in previous eras. In part, I attribute this to the extensive collection I've already amassed.  At this point, if I have a vision for a dress, jacket, or pant, I probably already have something similar in the stash of untouched patterns.  This particularly holds true for the Big 4.  Lately the only patterns I actually buy are vintage and even then, only if it is something unusual that I cannot draft, alter, or franken-pattern myself. 

But I am now obsessed... I love love love this gown. 

V1374V1374

I love the simplicity and austerity of the front with it's high neckline and long sleeves.  I love the touch of sexiness and glamour of the bare back.  I love the draped cowl.  I love the slight fishtail hem, which I imagine walks beautifully.

V1374

And for something so slinky, I think this would actually be incredibly flattering on quite a few body types, particularly when done up in the sequin mesh.  Now I understand that not everyone loves sequins to the same degree as I, but a sequin mesh really does drape beautifully due to the weight of the heavy embellishment.  (I can also see this working well in a rich toned velvet.  I've probably been watching too much Say Yes to the Dress, but can't you just imagine a holiday wedding with the bridesmaids in this gown in an emerald velvet?  Gorgeous.) 

Line Art

I also love the shoulder yoke detail.  While you can't really see it in a solid sequin, I would love to create a version where just that tiny square was done in a coordinating satin.  (You could then use that satin to make your  bias tape to bind the neck... so it isn't all that wasteful!)

Now as this is one of Vogue's Designer patterns, we also can take a look at the Badgley Mischka original: 

Emerald Sequin Cowl Back GownEmerald Sequin Cowl Back Gown
Weirdly, I think I like the pattern illustration version better.  I like the drape of what appears to be a heavier sequins and the more pronounced cowl on the version created for home sewers.  I also prefer the styling on the Vogue version as I think the designer's model seems a bit severe.

I've also priced out the difference.  The Badgley Mischka dress retails for $660.00.  A knockoff could easily be a fraction of the price.  Sequin mesh seems to average between $15-$20 per yard and the dress requires 4 yards. Tricot lining averages $5.00 per yard and you need just over 3 yards.  Even if you round up your yardage you are looking at a maximum of $130 in materials.  Add in the $20 for the pattern (not that anyone buys Big 4 patterns at full price!)  and you are looking at owning a perfectly fitted designer original for under $150.  A savings of at least $510.00! 

With that sort of savings on the table it would be irresponsible NOT to make this gown... which may be why this pattern is winging it's way to me as we speak. 

Now all I need is somewhere to wear it... glam grocery shopping anyone?

Monday, December 9, 2013

Fripperies and Fineries

For most of my life, I have always been inclined to be overdressed rather than under-dressed.  I believe that any excuse to adorn oneself in something satin, shiny and/or brightly colored is to be firmly embraced.  The exception to this rule?  Sleepwear.  I just am not a sexy nightgown kind of girl.  My Victoria's Secret purchases lean toward the over-sized and flannel.  (And not being a lingerie model, I am not adorably and seductively dishevelled in this lumberjack wear but more resemble an actual lumberjack.  Also, why isn't her shirt buttoned?  That looks both uncomfortable and cold.)

But I am now 30!  I am a proper grown-up woman!  I should own at least a few things that are soft and silky and feel nice against the skin!  My sleepwear should be glamorous and not covered in nautical monkeys!  

And like any good seamstress, I was not about to hit a department store to quench my new-found desire for impractical silken intimate apparel.  No sir, because that would have been easy and cost effective!  Nope, instead I turned to the internets where I obtained yards and yards of silks and velvets and laces and in order to make nearly every view of V8888
Line Art


So far, I've tackled my own (slightly altered) versions of views B, D, and E.  I started with the robe.  Now I already own a white "spa" robe made of soft absorbent terry cloth.  So what I was looking for here was something floaty that I could throw over my lounge wear in order to flit about the apartment looking like one or both of the Hepburns.  (In my fantasy life I am willowy... and possibly an heiress...)

So I altered view B to add a few additional inches of length (it still only hits mid-shin instead of the ankle length robe of my dreams) and cut it out of a silk velvet I purchased from printedsilkfabrics.com.  The underside of this fabric was not as soft and luxurious as I would have liked though, so I also cut a matching lining out of silk charmeuse sourced from FabricMart


In the end, I did accomplish my goal of creating a soft and fun to wear "around the house" robe.  Sadly, donning it does not instantly bestow me with a movie star good looks and flawless lighting as I hoped, but I think maybe that will kick in later.

I did make two mistakes in creating this robe leading to one "make it work" moment and some minor "it'll do" resignation.  First, I ran out of material. As I mentioned, my vision was a robe that hit at the ankle, but I made do with a robe that hit at the lower shin.  Even this compromise though did not leave sufficient yardage to cut the sleeves.  I had enough to cut three quarter length sleeves so I did that, but then I thought that a 3/4 sleeve is sort of stupid on a garment intended for warmth and cover.  So I cut a "lower sleeve" out of the scrap and made some bias binding out of the lining material to make my two part sleeve look intentional.  It isn't perfect (particularly as the slip-slidy material kept getting away from me) but I have decided it has a certain homemade charm.  Plus now my wrists are toasty warm!

In a slightly less charming and excusable error, I cut the entire robe with the nap the wrong direction!  And as I am ever so attentive, I didn't even realize it until I had the darn thing on!  The velvet is silky smooth to the touch so long as you stroke UP the back.  It's a disappointment I have learned to live with, the robe is still soft and pretty, but it feels just a little...weird. 

Next I tackled a variation of View D.   I had not purchased a lace with a defined edge so I attached the lace to the bust more like the silk charmeuse was a lining rather than as if the lace was an embellishment.


I also decided not to line the midriff band section with the charmeuse so that bare skin peeks through the lace.  This probably would have more of an effect if this silk didn't match  my skin tone quite so precisely.


As per the instructions I used french seams for views D and E which creates a nice finish on the inside of the garment as well.  For view D, I replaced the lace segments with a cream crinkle chiffon for a slightly sportier aesthetic that I though complimented the abstract print of the silk. 


Now that I've finished both negligee patterns, I have a few fitting issues that I hope to resolve in future versions, primarily in the bust region.  After adding a bit of additional length (about 3 inches) the skirt fit very well (I cut the 18, on the bias) but the bust is clearly meant for someone with slightly less volume in that region.  Ultimately as these are sleepwear and undergarments, they are wearable but wardrobe malfunction would be a constantly imminent risk.  In other words, there is a lack of the "lock and load" fit I generally prefer in a bodice. 
 
Luckily I can hide any potential inappropriateness with my fabulous velvet robe.


Sleep well everyone!


Sunday, November 24, 2013

A Terrible Lack of Impulse Control


Most of the time I am pretty good at behaving myself when it comes to fabric shopping... Sure I may buy things to fulfill visions of impractical or unwearable garments.  But in my defense, I almost never pay full price!

What am I guilty of though?  Binge-shopping... and like binge drinking it leads to a certain guilty nausea which can only be partially alleviated by running my hands across the soft pile of newly acquired silks and velvets.  (The rest of the guilt usually dissipates with an adorable distraction... oh, look!  A cat!)
 

Isn't that better?

But the important thing is that I bought fabric... far too much fabric.  So I am going to make a coat with this gray and purple wool herringbone and line it with a lightweight silk floral.


I also purchased several yards each of the following: (1) a gold and navy striped cotton that is fairly sheer, (2) a dark sapphire blue wool and rayon lightweight suiting, (3) a cotton fabric with a blue and cream stripe, and (4) a black brushed wool that I plan to use for a shift dress. 


And I decided I wanted to create some glamorous sleepwear and so purchased some silk charmeuse, lace, and silk velvet. 


So far I've started cutting out my lingerie wardrobe.  I am using Vogue pattern V8888 and so far I've cut out a long claret colored velvet robe and two nightgowns... I am going to be so pretty when I'm asleep!


So I am have a lot of work to do this weekend, but luckily I have an assistant who is always alert and ready to help me out...


Um... or not...

Wednesday, November 20, 2013

A Little Bit Vintage... the 50's housewife look


Several years ago a certain Mad Men episode suggested that all women wanted to be a Marilyn or a Jackie.  Of course Mad Men itself gave us it's own three iconic women and this classic shirtdress is straight out of the Betty Draper playbook.  Simplicity 2047, dating back to 1957, features a forward shoulder seam, soft vertical pleating at the natural waistline, and cuffed sleeves that hit below the elbow.
 
I cut this pattern from a brown and white polka-dot border print cotton sateen.  This fabric has a crisp hand at holds the pleats yet is soft enough to drape nicely.  As this dress is unlined I finished all the inside seams with a serger to prevent fraying.
 
 
The dress has a fly-front button opening.  As the buttons are fully hidden, I used generic neutral buttons from the stash.  I probably would have bought brown buttons, I probably should have bought brown buttons, but I am both cheap and lazy and used what I had on hand.

 
The other thing I love about this dress?  Pockets!  A dress with pockets is always a win in my book! 


 So as I mentioned in my last post, I'm entering this into the Pattern Review vintage contest.  You can check this link for the full review. 

Friday, November 1, 2013

The Shirtwaist Dress circa 1957

Vintage Pattern Contest
 
As I've been doing so well completing my Pattern Review contest entries lately, I decided to enter the November competition: The Vintage Contest!  The rules require sewing a garment using a vintage pattern, defined as pre-1978.  After digging through my stash of both fabrics and vintage patterns, I decided to tackle this classic shirtwaist pattern published by Simplicity in 1957. 
 
 
Now this pattern has a few advantages over some of the other vintage patterns I consdered... First and foremost this pattern is in the appropriate size.  As anyone who has purchased vintage patterns before can attest, these patterns are not multi-sized like our modern day versions.  Rather, you purchase the appropriate size based on your bust size.  Second, I had a perfect polka dot border print in a cotton sateen on hand which has been languishing in my stash for years.  Third and finally, this is a "Slenderette" pattern.  As per the Vintage Patterns Wiki, the Slenderette line of patterns were drafted with the goal of making the wearer appear slender or at least slenderer!  And I ask you, who could possibly resist a cotton polka dot "I Love Lucy"-esque dress which promises to skinnify you as if by magic? 

I also like the directions which I found to be straight forward, simple, and fit on a single sheet of paper.  I often misplace the multiple sheets of directions (this is a tragedy of working on multiple projects simultaneously) so a single page of directions is an organizational godsend in my book!


Now I say this pattern is the correct size as it is a Bust 38... and clearly my bust has not been a mere 38" in many a day.  However, my upper bust measures at 38 so this size provides the appropriate sizing in the shoulders which is the most difficult part to alter.  That said, I will have to do a classic full bust alteration here to add the necessary volume to the necessary areas.
 

 After making a standard full bust alteration, I cut the altered pattern peices out of a plastic backed paper tablecloth from the grocery store.  This allowed me to pin together the basic bodice and further adjust the fitting. 
 
For example, I noted that I would need to add a bit of additional width to the center back.  I also noted that after my alterations I needed to re-adjust the armholes that now refuse to line up properly.

 
Once I was satisfied on the matter of fit, I cut into my fashion fabric and pinned together the peices to make further tweaks to the fit before taking to my needle and thread.  This also gave me an opportunity to make some stylistic decisions.  For instance, did I want to use the border polkadots for the collar?  Sleeves or no sleeves?  And the ever important conderation of length...  


Next I take on actual assembly of the dress.  As I noted above, I've reviewed the directions and they seem clear.  Plus, at the end of the day a shirtdress is not an overly complex garment.  Ultimately how it turns out will be more a reflection of fit and fabric than of any complicated technique. 
 
I know what I'll be doing this weekend...


Sunday, October 27, 2013

Dress Form Troubles

So wouldn't you know it, a mere three days after I wrote and posted my ode to the dress form, it decided to give me problems.  I was working on my latest UFO project, the finishing of an avocado green, faux wrap, jersey dress.  I attached the sleeves...
 
 
 I pressed the remaining unassembled pieces...

 
Because seriously, two years in a bag at the back of the closet can lead to some severe unwanted wrinkling... And as I was working, I heard a loud thuwump.  I looked over to my dress form to witness this: 

 
And as I am not three feet tall, this was a problem in need of a remedy!  Let me explain what happened...  This dress form is adjustable by height.  The stand is made of metal piping and the center of the foam form has slightly larger metal pipe running up the center.  The bottom pipe fits inside the top pipe which is held up by a rubber ring and screws.  Sadly, after several years the rubber had grown a bit stiff and brittle and could no longer take the tension created by the screws.  It cracked in two separate points leaving my poor dress form with a very abbreviated leg line.


Now, this didn't stop me from finishing the dress!  (Although the fit is off here and I may have to do some alterations as I like a lot more negative ease on a jersey dress than this pattern provides.  The fit is quite loose and it just doesn't work.  More on that later...  Plus I can't exactly pin the hem when my body double is in this terrible state!)


My first attempted fix involved creating a new ring of scotch tape which initially seemed to work, but... well...


The clear scotch tape didn't quite have the sturdiness needed.  So I decided to head to the Home Depot, pipe in hand, to find a more permanent solution.  After half an hour of searching the shelves of the hardware and plumbing aisles with two different employees, I came home with... Slightly sturdier tape!

 
Sadly, unless I wanted to buy a heavy duty drill capable of putting holes in the underlying pipe, duct tape seemed to be my best bet.  And so far it seems to be holding up.  My dress form friend is standing tall once again.  Let's see how long it lasts!