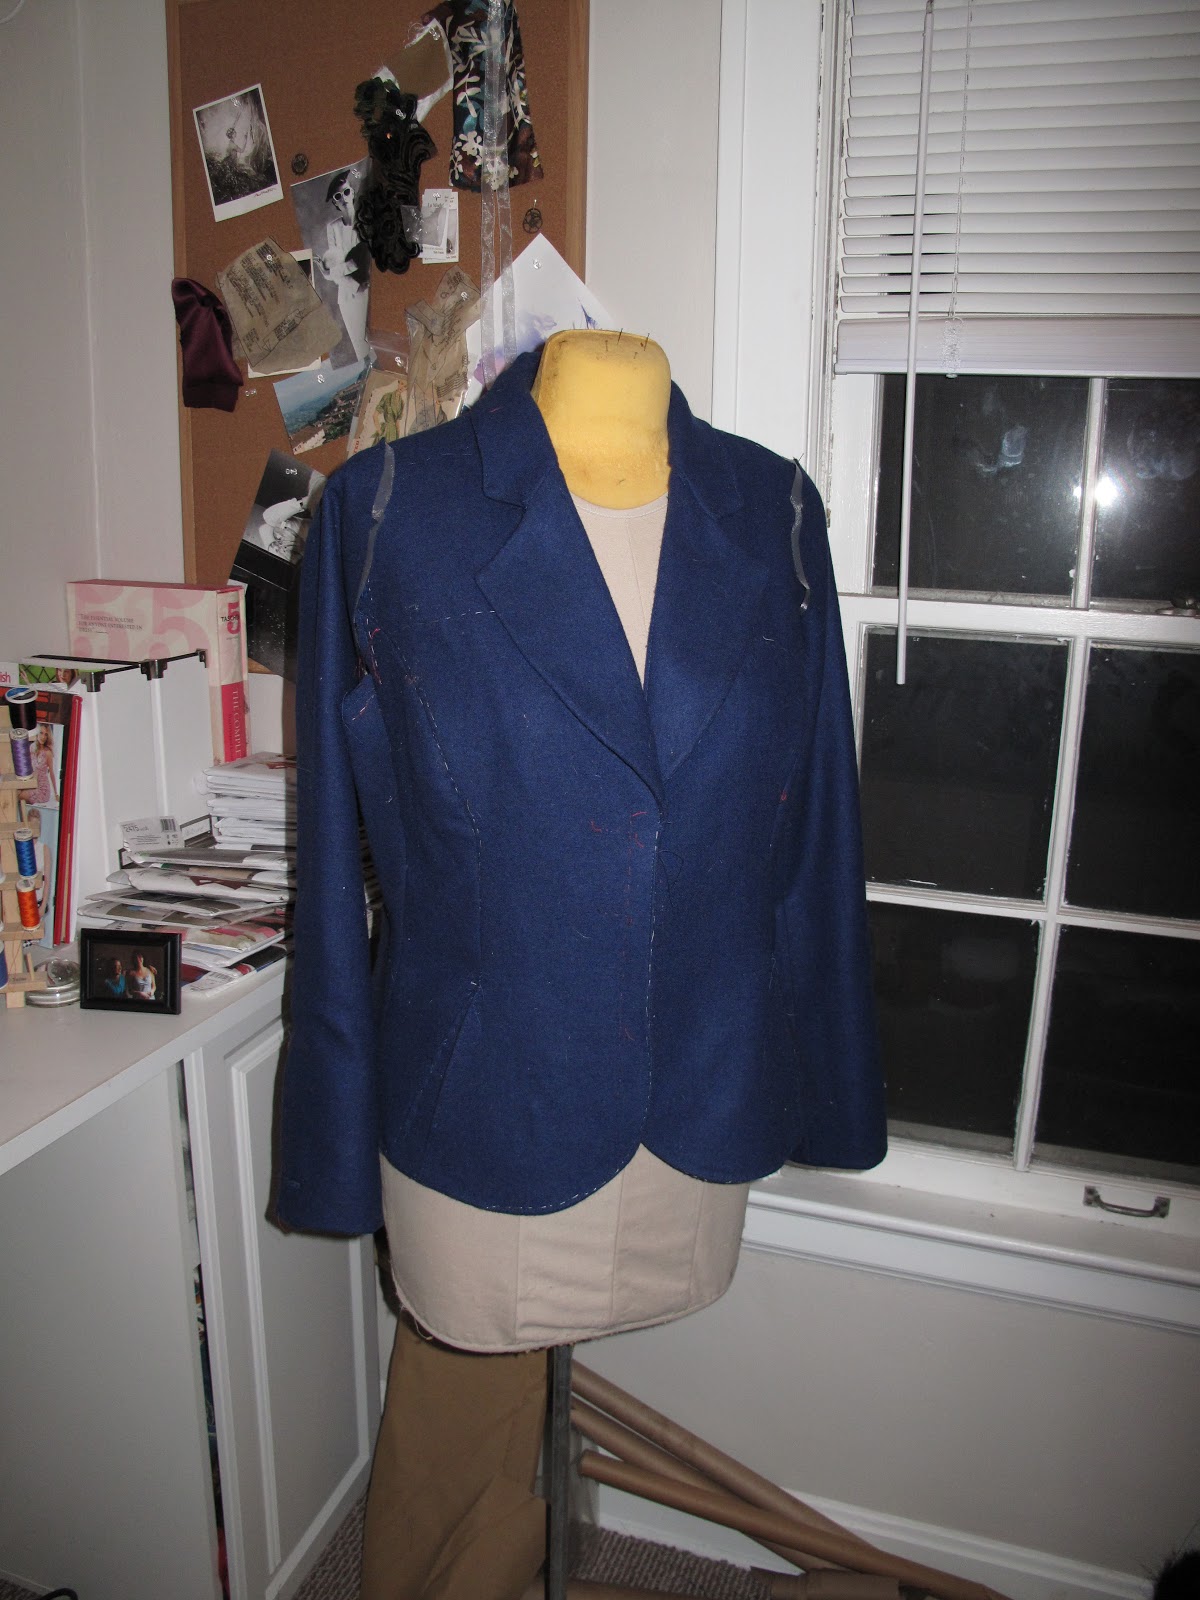
When we last left off, the body of the jacket and the sleeves were each assembled individually and ready to be attached to complete the fashion fabric shell of the jacket.
Before attaching the sleeves I sewed two rws of easestitching and shrunk out the fullness with a hot steam iron as per the "Courture Tip instructions." One thing I found interesting was the instruction that for this sleeve cap the the iron can cross the easestitching as far as 1 inch.


The next step is completing the sleeve lining. According to the instructions, in coture construction the sleeves are lined before they are sewn into the jacket. I began by assembling the two part sleeve linings and ironing the seam allowances open.
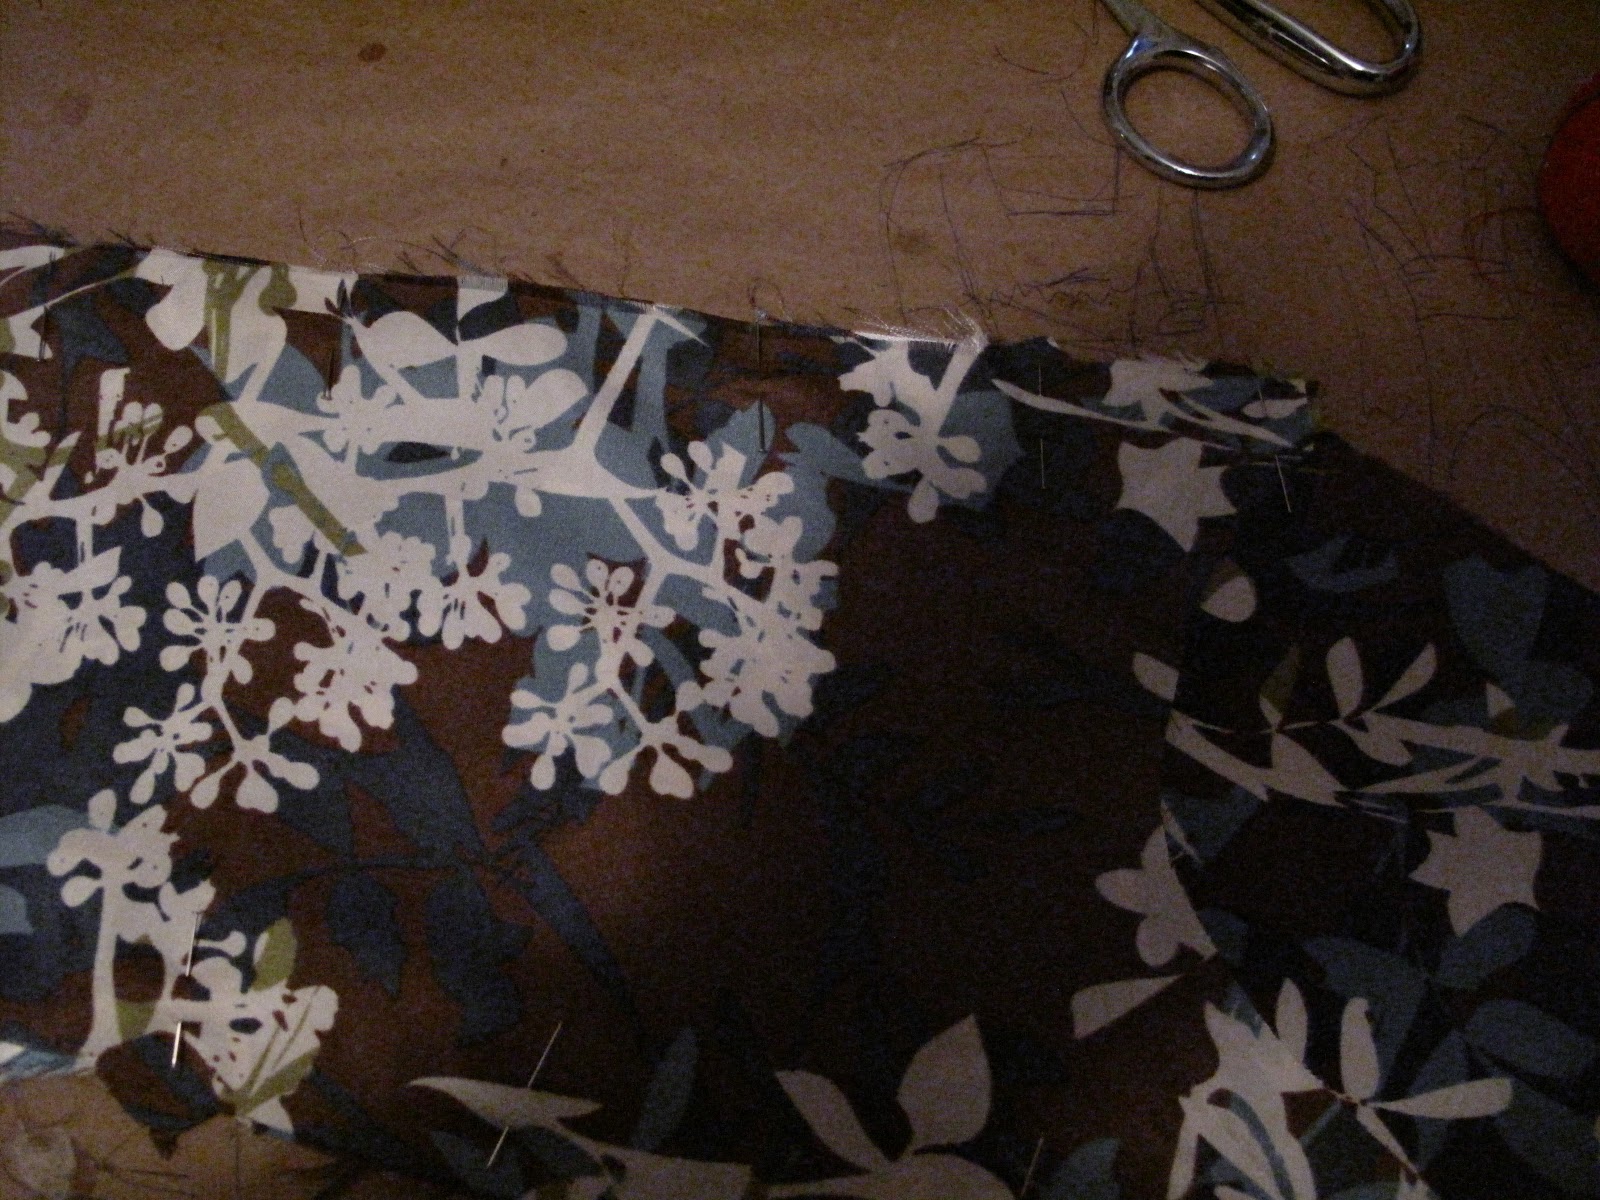


The next step confused me for a while before I figured it out. First I turned both the sleeve and the lining inside out. Then I lined up the outer sleeve and the lining one on top of another and basted the sleeve to the lining in the seam allowance relatively close to the stitching line.


Then I turned the sleeve so the wrong sides were facing but the entire sleeve was turned inside out... if that makes sense? Oh, just see the picture below...

Then I tucked the sleeve lining under at the edge of the facing, pinned and slipstitched the lining into place at the wrist.


After completing the sleeve (and pinning the lining out of the way) I basted and then stitched the sleeve into the armhole.


I then cut a strip of wool batting to use as a sleeve head and pinned and stitched onto the top of the sleeve witht the raw edges lined up to the raw edges of the set in sleeve.


Finally I pinned in the shoulder pads to check the fit, before stitching them in permanently.


So I'm getting closer to finishing up... My next step is to assemble the lining. Stay tuned!
No comments:
Post a Comment