But I finally got my act together and made my pillows. (I still plan on making an upholstered cushion for the bench in a kahki tan I picked up at the JoAnns clearance. I'm picturing something with covered buttons... this may be a disaster so stay tuned!)
Being on the lazy side, especially when it comes to "boring sewing" (aka things that are straight lines), I did purchase pillow forms, utilizing my weekly JoAnns coupon.
To begin creating a throw pillow you want to start by cutting fabric squares that are smaller than your pillow forms... Yes dear reader, I know this is counter-intuitive, but it is the essential trick to creating a throw pillow that seems professional and finished. The forms I purchased were 18" x 18" so I cut fabric squares that were 17" x 17x.
I then pinned the front and the back of the pillow together (right sides together of course!) and sewed the two sides together.
I left about eight inches open and unsewn on one side. For those who are real "beginner beginners" you want to assure a really sharp corner by sewing right to the edge of your seamline and making sure the needle is peircing the fabric when you make each 90 degree turn.
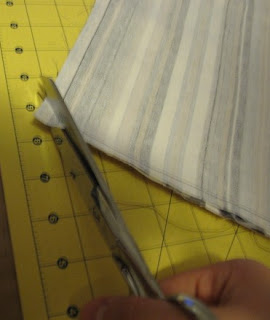
Then trim the corners and clip the seam allowance before turning the pillow right-side out.
Then for the fun part! I stuffed the pillow form into the newly created cover and slip stiched the cover closed.
The result? Several beautiful new throw pillows which are not only perfectly matched to my decor but cost only approximately $8.00 each!


No comments:
Post a Comment